|
PCSX2 is an open-source PlayStation 2 (PS2) emulator for the Microsoft Windows, Linux and OS X operating systems. In its latest stable release, many PS2 games are playable, and several games have full functionality.[1] The main bottleneck in PS2 emulation is emulating the multi-processor PS2 on a PC x86 architecture. Although each CPU can be emulated well, accurately synchronizing the CPUs is very difficult. PCSX2, like its predecessor project PCSX, is based on a plug-in architecture, separating several functions from the core emulator. These are the graphics, audio, input controls, CD/DVD drive, and USB and FireWire (i.LINK) ports. Different plug-ins may produce different results in both compatibility and performance. Additionally, PCSX2 requires a copy of the PS2 BIOS, which is not available for download from the developers, due to the copyright concerns and legal issues associated with it. The emulator is incompatible with PlayStation games. INFORMATION: - Developed by: PCSX2 Team - Latest stable release: v.1.0.0 (r5350) (3-August-2012) - OS: Linux, Microsoft Windows - Available in: Multilingual - Development status: Active - License: Freeware - Website: http://www.pcsx2.net/ SYSTEM REQUIREMENTS: MINIMUM: Windows/Linux OS CPU: Any that supports SSE2 (Pentium 4 and up, Athlon64 and up) GPU: Any that supports Pixel Shader model 2.0, except Nvidia FX series (broken SM2.0, too slow anyway) 512MB RAM (note Vista needs at least 2GB to run reliably) RECOMMENDED: Windows Vista / Windows 7 (32bit or 64bit) with the latest DirectX CPU: Intel Core 2 Duo @ 3.2 GHz or better OR i3/i5/i7 @ 2,8 GHz or better OR AMD Phenom II @ 3,2 GHz or better GPU: 8800gt or better (for Direct3D10 support) RAM: 1GB on Linux/Windows XP, 2GB or more on Vista / Windows 7 HISTORY (from Wikipedia): Development of PCSX2 began in around 2001 by Linuzappz and Shadow, who were coders for the PlayStation emulator, PCSX. Other coders later joined the team and they eventually managed to get simple PlayStation 2 homebrew software and games to run. Many revisions later and with lots of plug-in development, the PCSX2 team managed to get some games into loading screen, and even in-game footage for other games. The team started working on emulating the PlayStation 2's BIOS, which proved to be extremely difficult to accomplish. Once the team got the BIOS to run, it was slow and graphically distorted. After that was accomplished, the team started to focus on implementing missing parts of the emulator and replacing hacks with correct emulation as they started to understand those areas. The implementation of the first recompiler was made by Goldfinger and improved speed greatly compared to the older interpreter, which was slow by design. These improvements slowly increased the speed and compatibility of PCSX2. Zerofrog later joined the team and developed the ZeroGS and ZeroSPU2 plug-ins. He also rewrote the VU and EE recompilers, which lead to huge speed boosts in version 0.9.1, released July 2006. During summer 2007, GiGaHeRz managed to get the Netplay working, an area no other member of the PCSX2 team dared to venture into. In 2008 Zerofrog left the team and minor changes were made to the emulator by the two remaining coders, Refraction and Saquib, to keep the project alive. After the release of 0.9.4 in November 2007, the GSdx plug-in underwent significant changes by Gabest which improved its speed. These changes included the addition of the Direct3D 10 renderer, which solved the issue of clipping surfaces (which was caused by the limitations of Direct3D 9) and improved the caching methods of the emulator, and a rewrite of the entire software renderer that allowed it to run on multiple CPU threads, closing the performance gap between the hardware and the software renderer when running the software renderer on a highly threaded CPU such as the Core i7. In February 2009, new coders were enlisted to work on the emulator. PCSX2 0.9.8 was released in May 2011 and featured an overhauled GUI written with wxWidgets which improved compatibility for Linux and newer Windows operating systems, the addition of a new VU compiler known as microVU0 in order to bring better compatibility to the legacy SuperVU compiler, a memory card editor, an overhaul of the SPU2-X audio plug-in allowing for games like Burnout 3 to run for the first time on PCSX2, and numerous other improvements and bugfixes. The SPU2-X plug-in was updated in June 2011 to improve emulation of the PS2's audio. HOW TO CONFIGURATE PCSX2: You can also check the official PCSX 2 guide (for v.1.0.0) here: 1 - Download PCSX2 from his website or from our downloads page. 2 - Extract PCSX2 in a folder of your hard drive. 3 - Place the bios in the bios folder of PCSX2. Since the bios are copyrighted material we can't host the Playstation 2 bios in our site. 4 - Download the other plugins (specially CDVDolio CDVD plugin) and extract them in the plugins folder of PCSX2. 5 - Double click on pcsx2.exe. You'll see this gui. 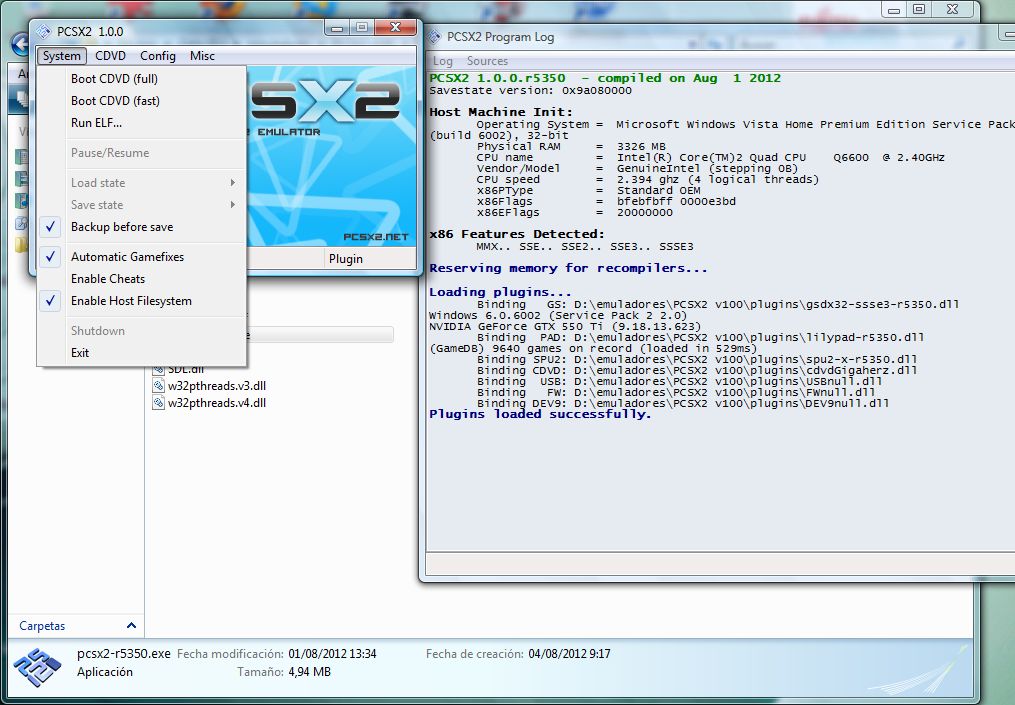 6 - Now go to the "config" part. 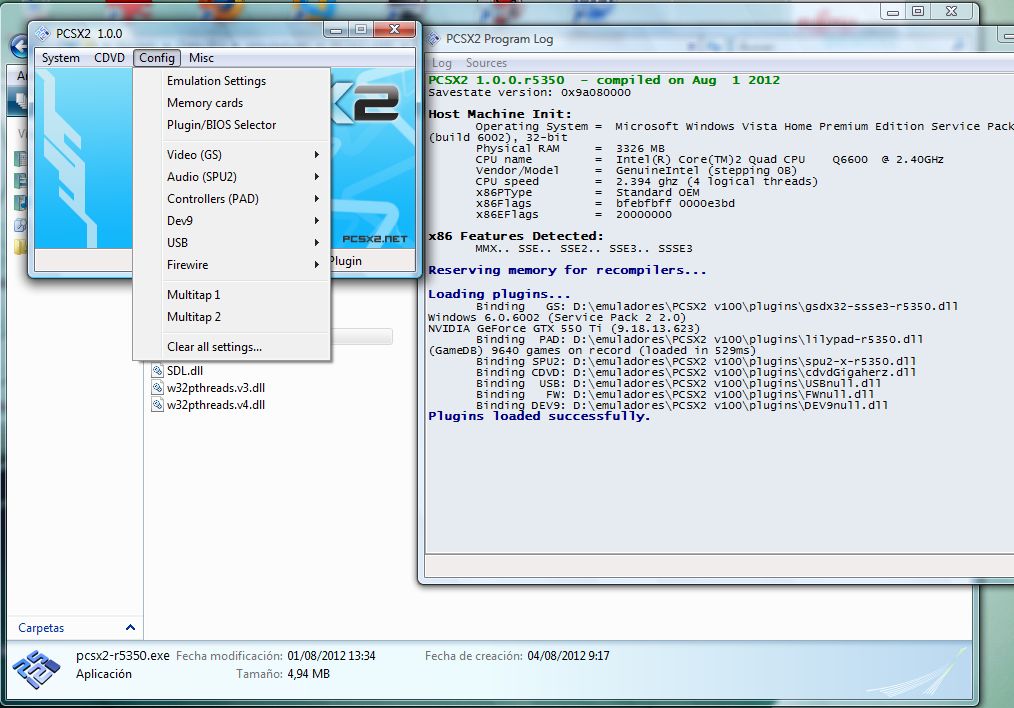 7 - Go to "Emulation Settings". 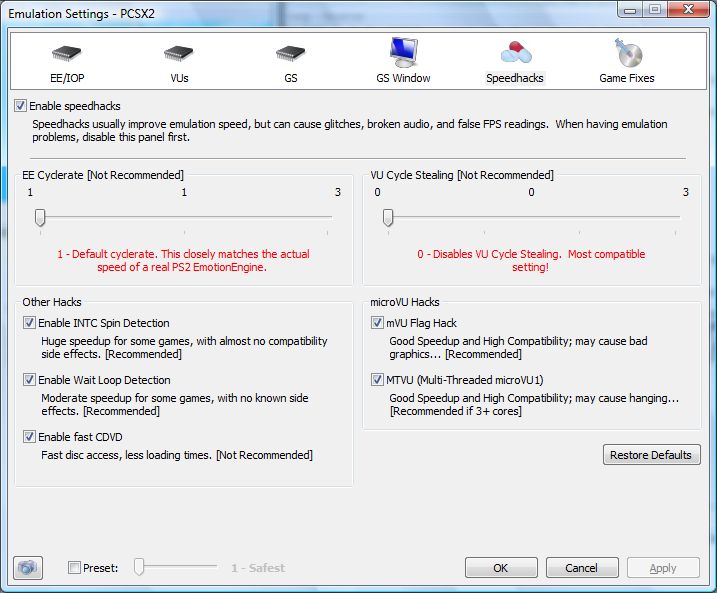 As you can see in this image in this part of the emulator there are different sections, I'm going to explain them one by one, but of course for a more detailed information please check PCSX2 v.1.0.0 guide on PCSX2 site. First we got the EE/IOP section, is better to leave it here as they are on the default options of the emulator, just like this screenshot shows.  After that we got the VU's section, again please leave this part as it is on the screenshot. 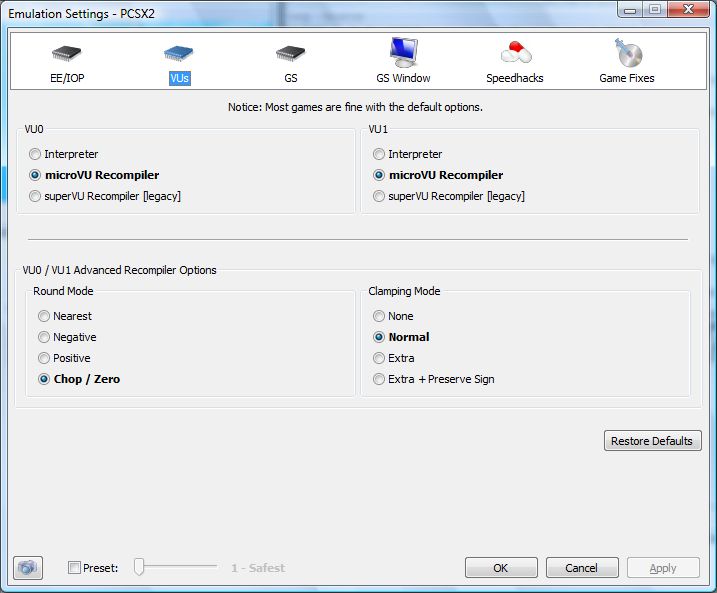 The next subsection is the GS one, leave it as it is on the screenshot. 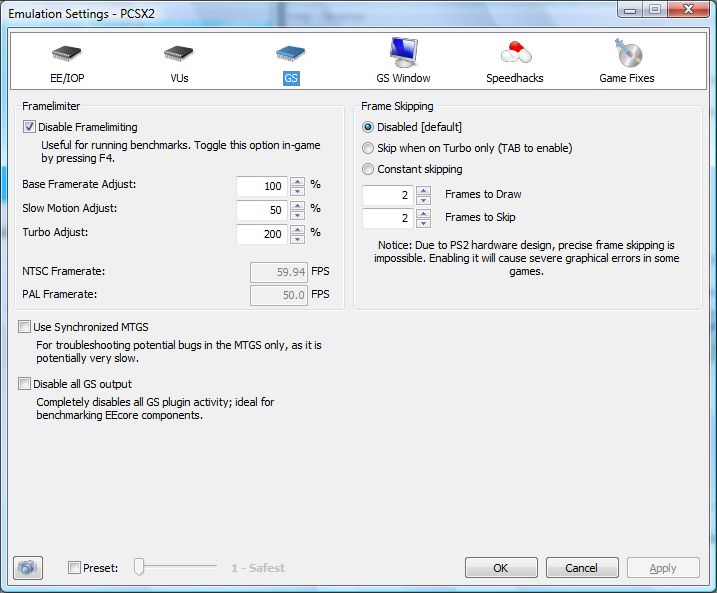 Next one is the GS Window one, again leave it as it is. 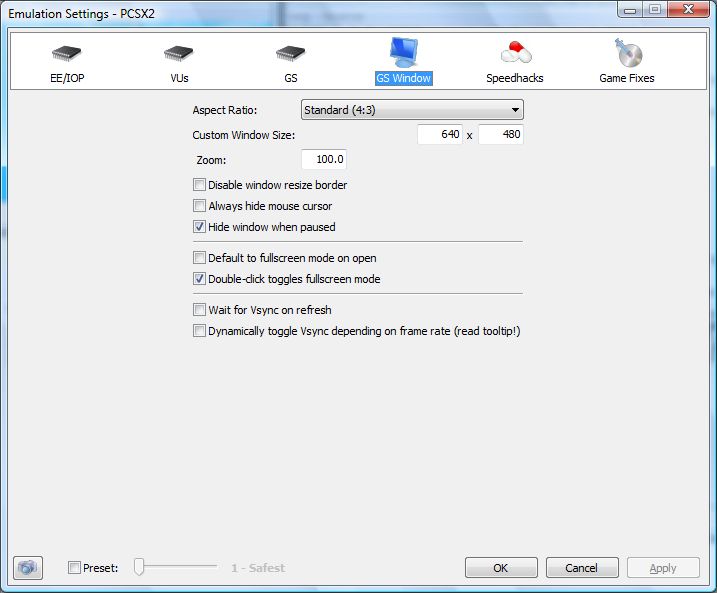 This subsection is probably the most important one, here you can enable or disable the use of speedhack, if you got a really powerfull PC you can disable speedhacks, but the recommended configuration is the one posted in this screenshot, other games will need a different speedhack configuration to run better in the emulator so please check each game entry, and anyway depending of your computer specs the game will run better or worse, anyway this is the default speedhack configuration: Time for the other important part of the Emulation Settings, the Game Fixes part, the default configuration is to have all the game fixes disabled, but a few games will need one or more game fixes to run, so please check each game entry to know which one need it. 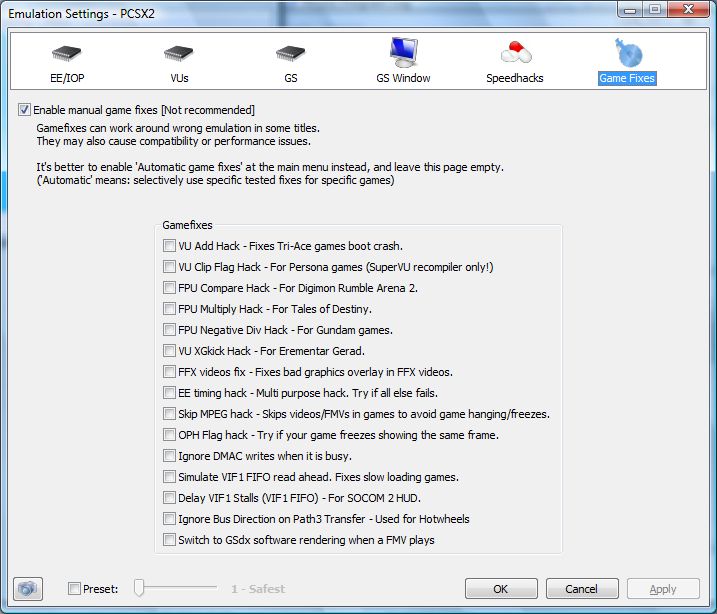 This is all for the Emulation Settings part, time for the next section. 8 - The next section in the "Config" menu is the Memory Cards parts. In this part of the emulator you can create new memory cards and also select which one the emulator will use when you run it. 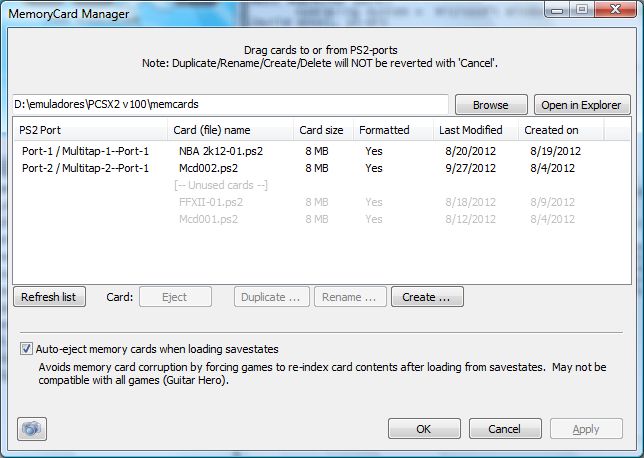 Create and select 2 memory cards and now we can proceed to the next section of the emulator. 9 - Time for the other important part of the emulator, the "Plugins/BIOS selector. Again we got 3 different subsections here. The bios subpart got nothing to explain, just select the folder when you got your bios and that's all. So time for explaining the component part...  The first here is to select and configure the graphic plugin, GSDX is by far the best one, I can only use the SSSE3 version, depending of your PC you can use SSSE4 or only SSSE2. This is the hardware configuration: 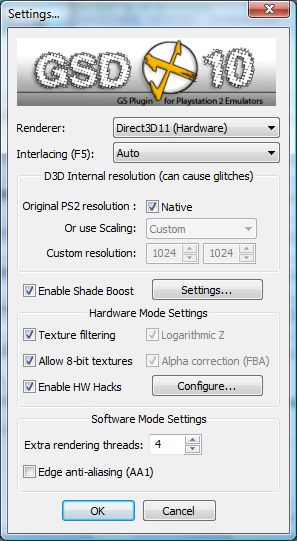 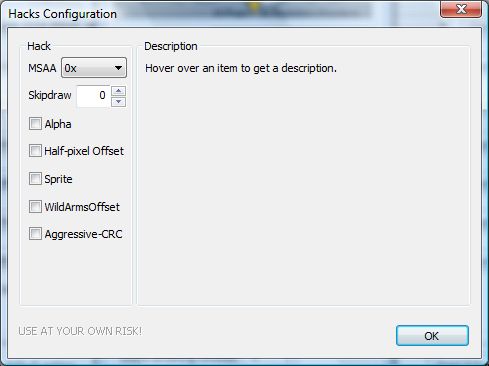 And this is the software one: 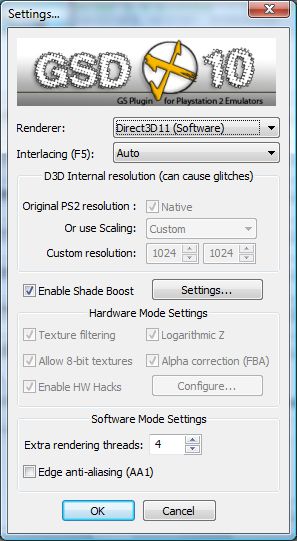 Time for the pad plugin, there are some pads avaliables in PCSX2, In my case I use Lilypad plugin. 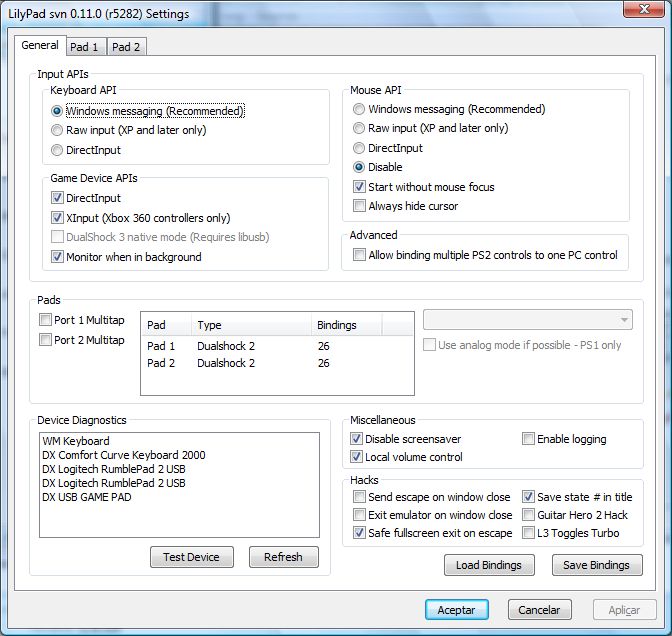 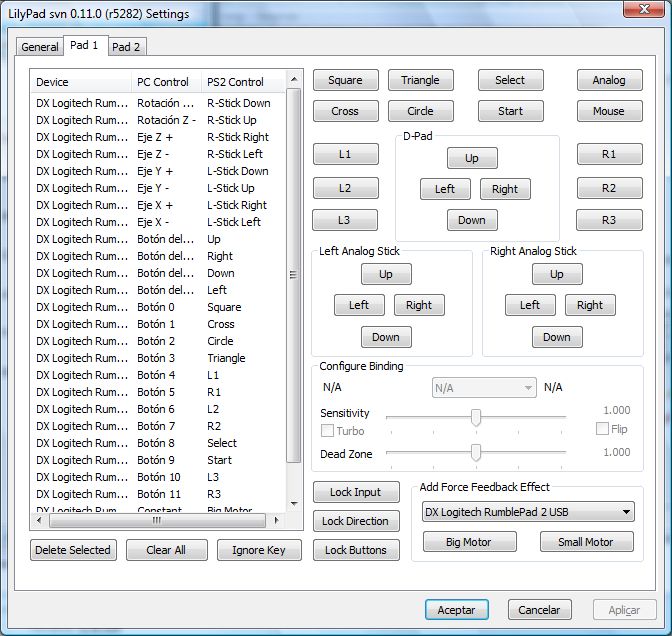 This is SSSPSX pad plugin. 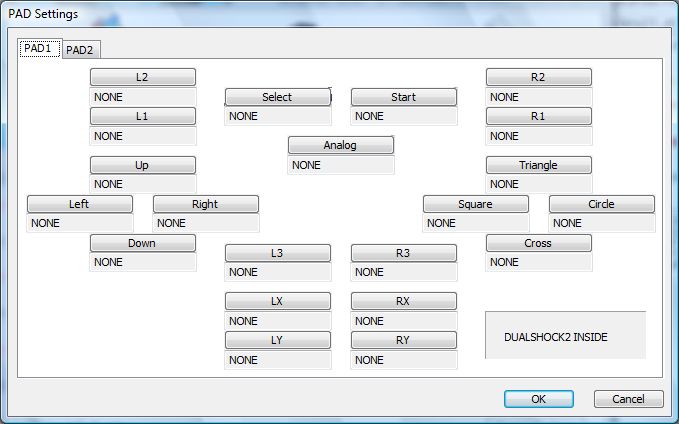 Now is time to configurate the Audio plugin: SPU-2X, this is the default configuration but in this part you can select in the Synchronizing mode between TimeStretch (the most compatible one) and Asynch Mix (gives a little better speed but could break some games). There are also 4 different kind of interpolation modes, so choose the one that you prefer (some are a little slower than others depending of your specs). 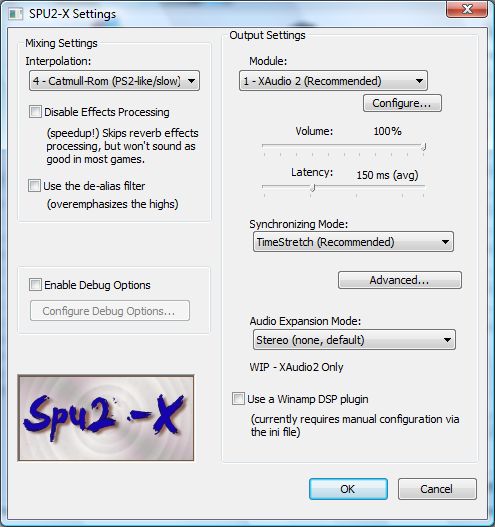 After that, time for the CDVD plugin, there are 3 different ones, the first one is CDVD Gigaherz, in this plugin you can only select the driver unit letter from where you want to run the game. 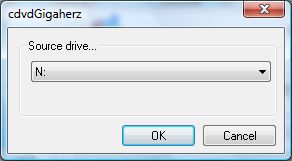 The next one is Linuz iso CDVD plugin, this plugin can only run isos, not cds or dvds. This plugins also allows you to compress and decompress isos. The plugin can also run games in the compressed format that he creates. 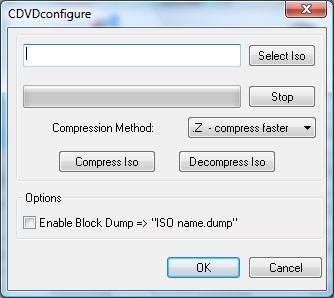 The latest, but not the less important one is CDVDolio, this is right now the only one that can run DVD-9 games in DVD format. The plugin can also run games in iso format. 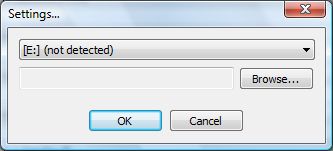 The other parts, USB, FW & DEV9 leave them as they are. With this we had completed the plugins part, time for next and last subsection in the Plugins/BIOS selection part of the emulator: The folders section, in this section you can select the folders of your hard drive where you want to store the savestates, snapshots and logs/dumps. Select the folders and continue with the next part. 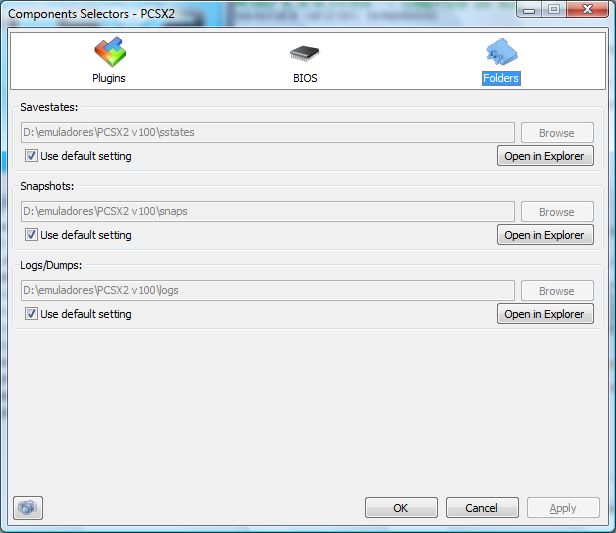 10 - Ok, all the plugins are now configurated but if you want to change anything you can go to the Plugins/BIOS selection part or go to each part of the gui that is for "Video", "Audio" and "Controllers" and configure again each part. 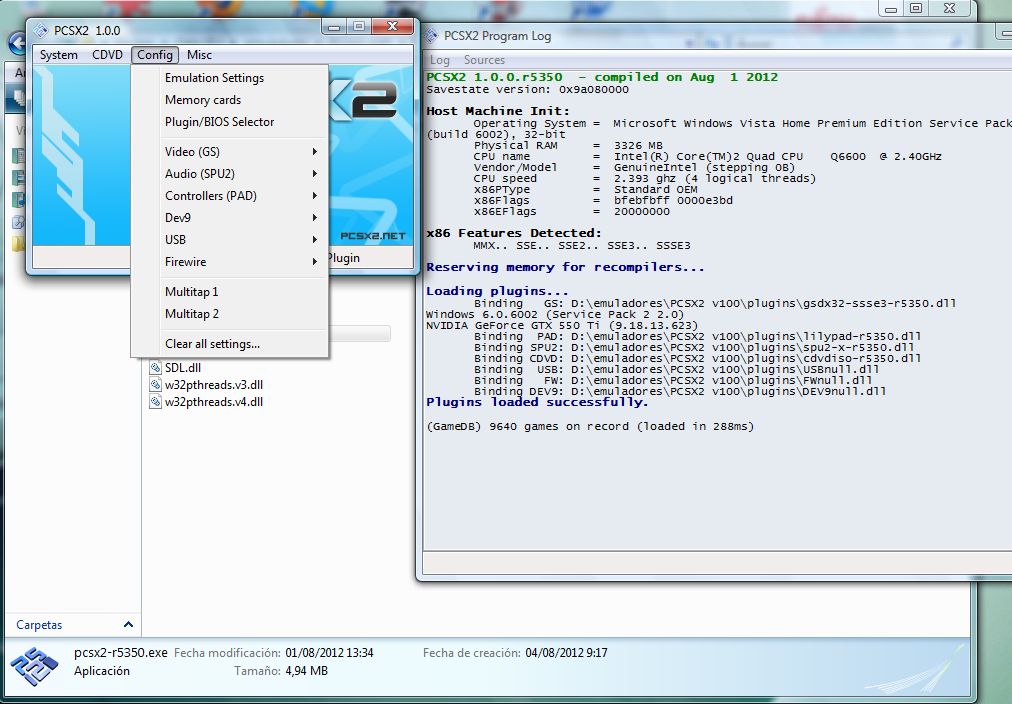 11 - Since we got all configurated now is time to go to the CDVD part of the emulator: 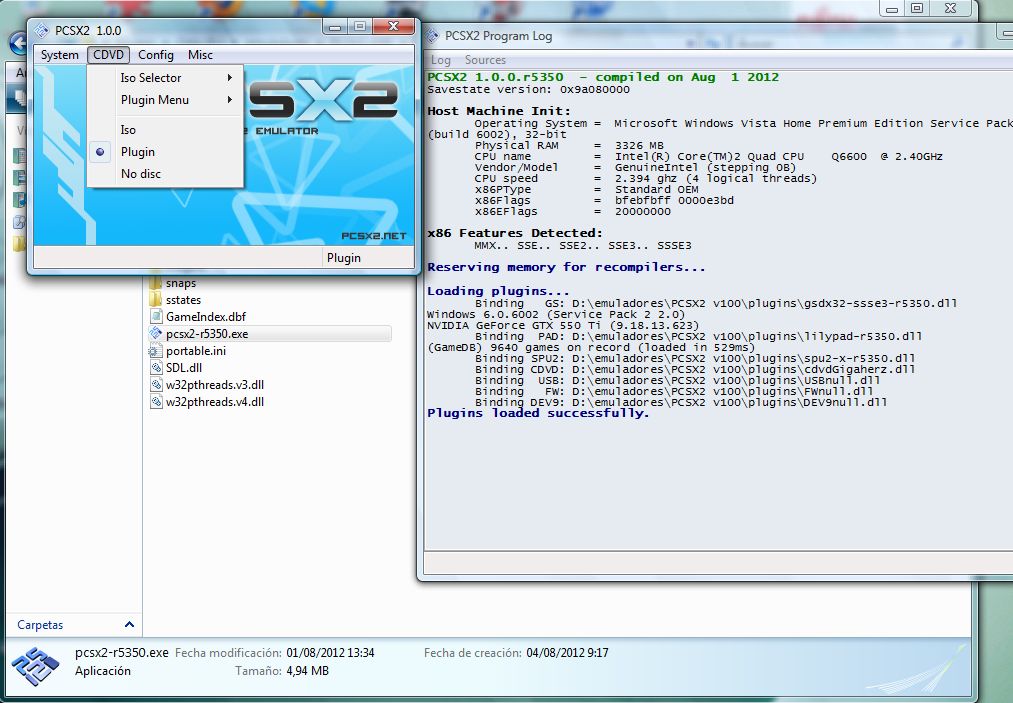 If you select No disc when you run the emulator it will only load the bios and there you can configure it and also go to the memory card menu of the console. But if you already have configurated the bios, now you have to select Plugin. And that way you will run the game that you selected in the CDVD plugin that you configurated before. 12 - Ok, all configurated and game selected, but still we got more things to explain. Do you remember the first menu of the gui of the emulator? Here there are some important options: - Boot CDVD (Full) - Using this option you will run the game through the Playstation 2 bios, this is important since there are games that are multilanguage but only through bios, and that mean that if you use the other Boot method you will have the default game language (usually english). - Boot CDVD (Fast) - Using this option you will run the game without using the bios (but you still need a bios to use the emulator), this is a good way if the game got only one language or a language selector. - Run Elf: This allows to run an elf file, there are some Cheat devices like Gameshark ones that are avaliable in this format so you can run them using this way. The options "Backup before save", "Automatic game fixes" & "Enable host Filesystem" is better to leave them enabled. Pause/Resume as his name well explain let you pause and resume the emulation. Enable Cheats: This options allows you to use pnach files that are cheats for games and other times allow a game to be playable in the emulator, you can enable it or leave it unchecked. Exit: Exit the emulator. 13 - Using savestates: If you want to make a savestate in PCSX2 just go to the system menu and select "save a state" or press the F1 key during gameplay, to load a state just go to the system menu and select "load a state" or press the F3 key. 14 - One last important thing is that you can change in GSDX between hardware and software during gameplay pressing the F9 key, that's good specially when a game movies can only be watched in software mode. 15 - If you want to make a screenshot in PCSX2 just press F8. 16 - Speed limit activate/deactivate with F4 key. HOW TO USE THE BUZZ BUZZERS WITH PCSX2: IMPORTANT: Buzzers games only will work in PCSX2 with the Buzz Buzzers controllers. I only tested this with the Buzz Buzzers wired controllers. 1 - Download USB Driver by Gigaherz v.0.1.0 from our downloads page and extract it to the plugins folder of PCSX2. 2 - In PCSX2 go to "Config" and there to "Plugins/BIOS selector" and in "USB" select Qemu USB Driver by Gigaherz (Buzzmod) 0.1.0 [USBqemu]. 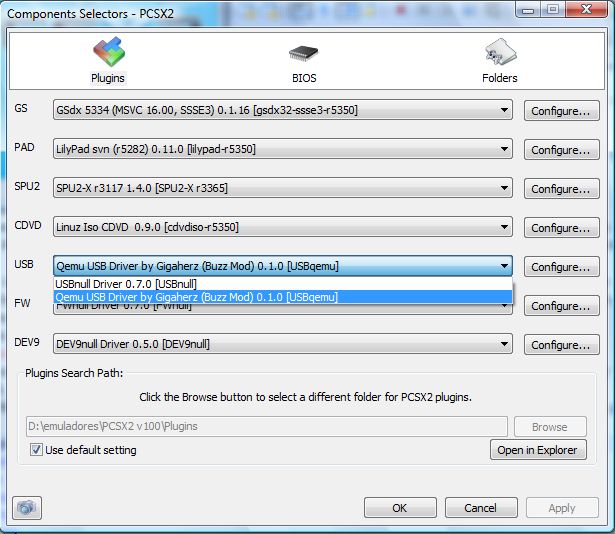 3 - Now exit PCSX2. 4 - Connect the Buzzers usb wire to any usb port of your PC. If Windows doesn't recognize it as a pad of 20 buttons you have to follow this steps: Go into the device manager & choose the driver that is not loading (the one with the yellow exclamation), choose update driver and select (from the list of windows drivers) the other driver that windows recommends (the one that is Human Interface Device HID) it will load it and appear as a game controller of 20 buttons (5 buttons for each Buzz Buzzer controller, since it comes with 4 Buzzers). 5 - Start PCSX2 with any game that needs a Buzz Buzzer controller and the game will recognize your Buzzers now and you can use them to play it. |